Dave Yates Bicycle Frame Building Course
30 Sep 2014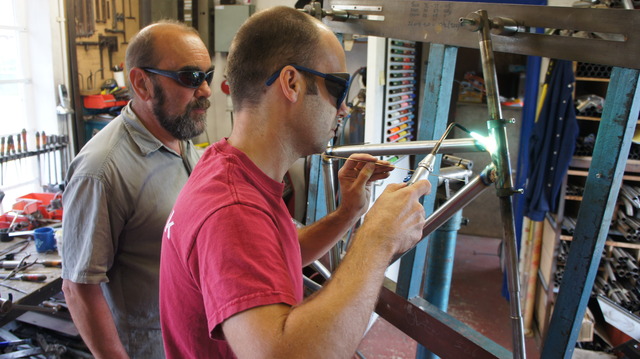
A long time aspiration of mine was to build my own bicycle frame from scratch. I have only ever bought one bike that came assembled. Most of my bikes I end up finding parts for and building myself.
The Course
Dave Yates Cycles run frame building courses out of a small workshop in the UK countryside. This countryside happens to be very familiar to me as it is not too far from where I was brought up in the county of Lincolnshire. Dave Yates, originally from the North East, was a pioneer in the early days of the UK Mountain Bike scene in the early 1990’s. This was when mountain bikes could not be bought from major manufacturers as the sport was relatively new. The big names in the cycle manufacturing world at the time, had yet to get their heads around these strange bikes with big tyres and flat bars. Dave hand built the first mountain bikes in the UK to fill this gap and those which still exist today are somewhat of a collectors item.
Fast forward a few years and having run a successful frame building business in the North East of England, Dave is now set-up shop where he is now. Continuing to build custom frames to specification, Dave also runs highly regarded frame building courses.
Having put my name on a waiting list two years prior, I was booked in for a weeks course in the summer. The courses require no pre-requisites however it is a good idea to have researched the type of frame you want to build and choice of materials. To maintain the quality of the final product and provide a better learning experience, only 2 students are taken on at any given time. This ensures you have Dave’s full attention at all times and really makes a difference.
One of the reasons I chose this course out of the others available was because of Dave’s keep it simple approach to frame building (one phrase you will hear over again on the course from Dave is “it’s not rocket science”). Whilst the workshop contains an array of metal working machines, almost all work is performed with a small collection of hand tools. My theory being that learning without the use of specialist tools would be more beneficial (should I ever want to attempt to build another frame).
Frame Design
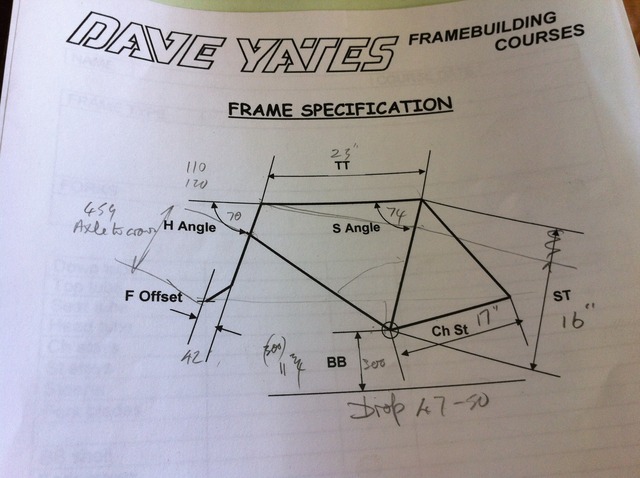
You can pretty much build any sort of frame on the course: road, touring, mountain, etc. After some toing and froing I chose to build a 650b (or 27.5”) mountain bike frame in Reynolds 853 tubing. Dave has much knowledge and advice to share when it comes to frame geometry. Despite having never built a 650b wheeled frame before, we came up with a design and geometry that matched what I know is good for me and what Dave confirmed as being suitable. A few key angles and lengths were jotted onto a piece of paper and we were ready to taking a hack saw to some rather expensive tubing.
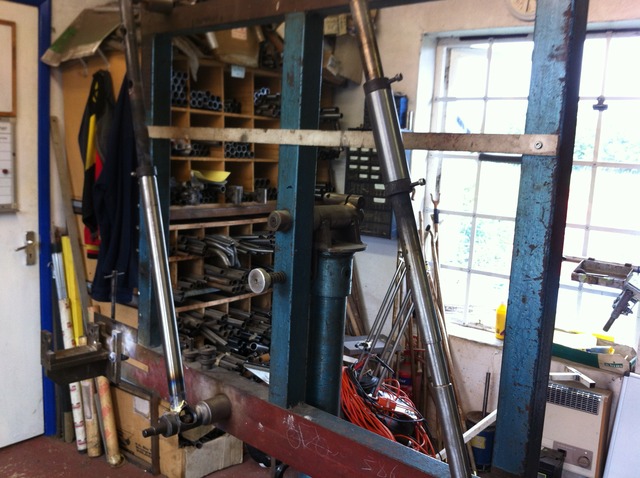
Assembling the Frame in the Jig
Cut and mitre down tube.
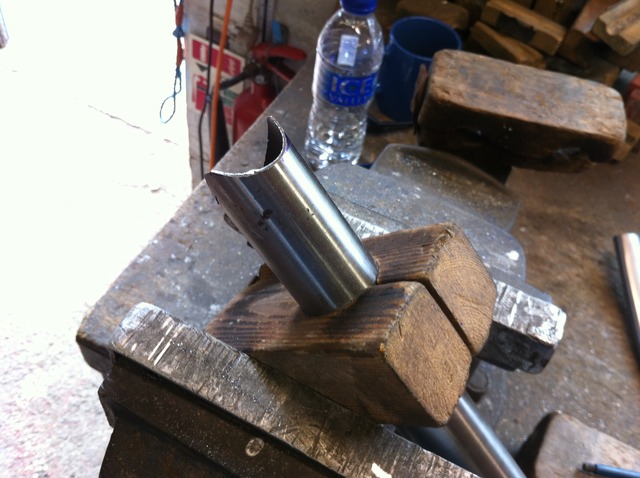
Then tack braze into bottom bracket. The join angle doesn’t have to be 100% correct at this stage as there will be a fair amount of flexibility in the joint.
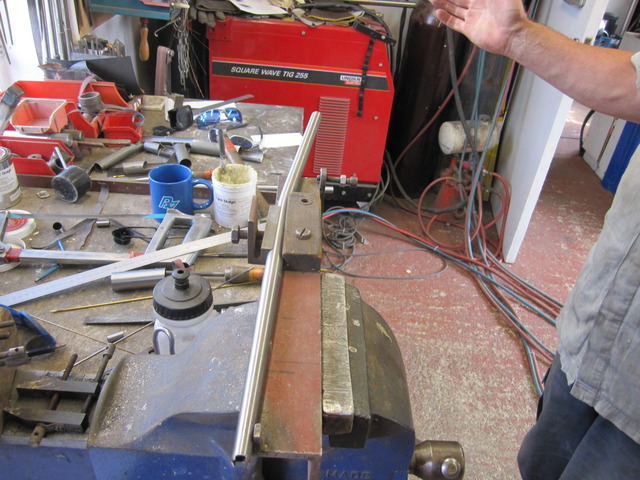
Cutting the head tube to length nicely was the only cut performed on a lathe. This makes for a nice accurate cut that needs little finishing (as opposed to my hacksaw skills). Once this is complete, the head tube and the down tube can be placed in the jig and aligned as per frame dimensions.
Dave talked a lot of the jig he uses. Of course in true Dave Yates style, it is self fabricated. In a previous life Dave was a metal work high school teacher so is armed with lots of relevant skills outside of building frames. The frame jig is essential in building a well aligned frame and most builders seem to use one in some form or other.
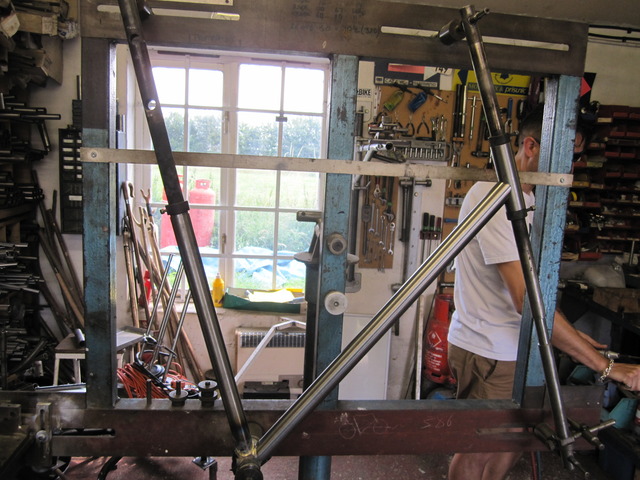
Down tube cut to length, mitred and assembled in the jig (after three hours and file mitre, attempt to fit and repeat). The tube is tack brazed into place.
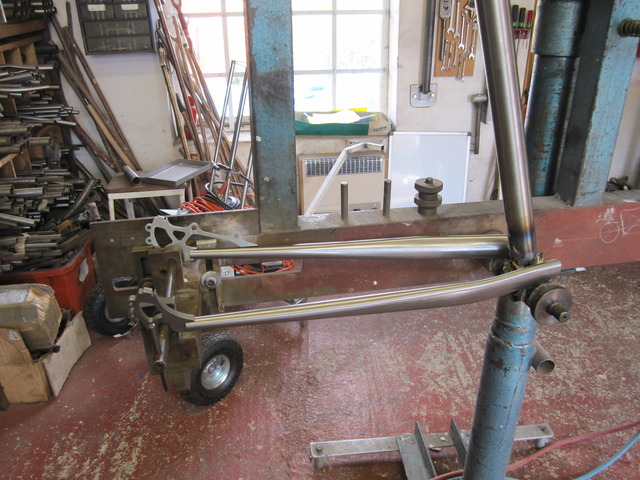
Chain stays are tricky as they need to be bent (by hand) to create tyre clearance. The ends are notched and mitre to provide a snug fit into drop outs. Excess drop out material is filed away to create seamless join with chain stay.
Top tube mitred and placed in jig.
Bending seat stays is equally tricky.
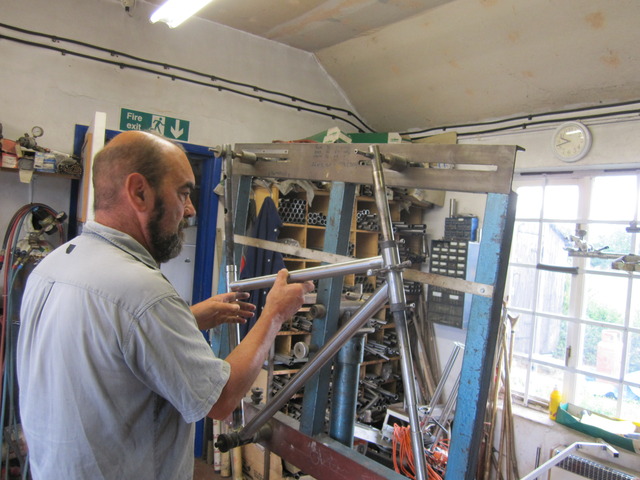
Brazing Proper
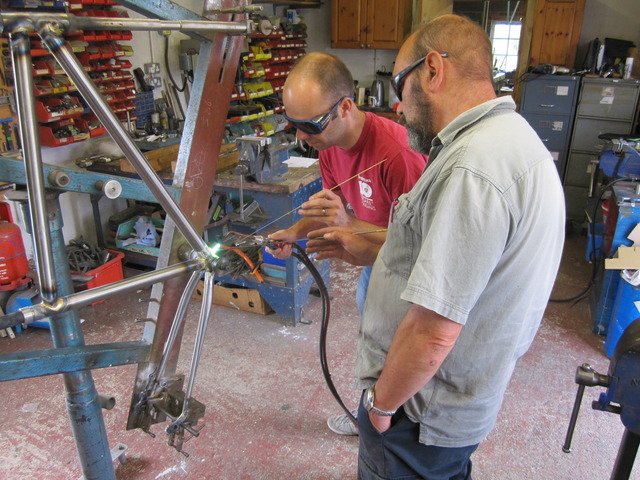
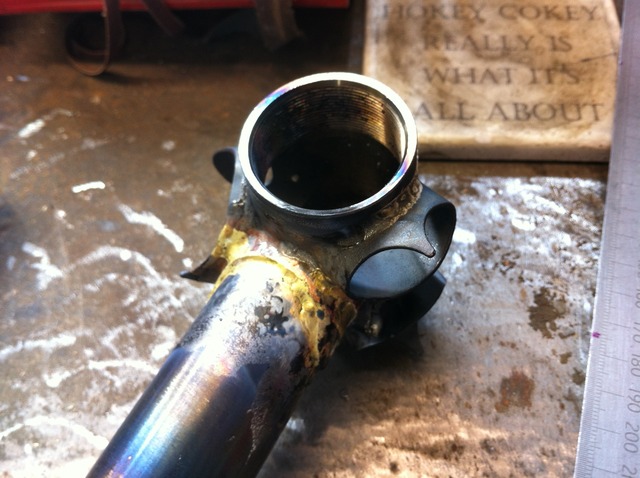
Then the fun begins brazing and filling each joint. Each braze must be filed clean and round. Care is taken not to get the joint too hot in the process else run the risk of destroying the expensive tubing.

Braze-ons are silver soldered (brazed at a lower heat with silver not brass) in place. Silver has a lower melting point so is better suited to applying in delicate areas such as to the middle of thin (tapered) tubing.
Once brazing is complete, the laborious job of finishing the frame through sanding, filing and filling starts. The finish after painting very much depends on getting this right. Painting is something Dave does after the course finishes and as part of this he does shot (or sand) blast the frame which removes minor blemishes.
The Final Product
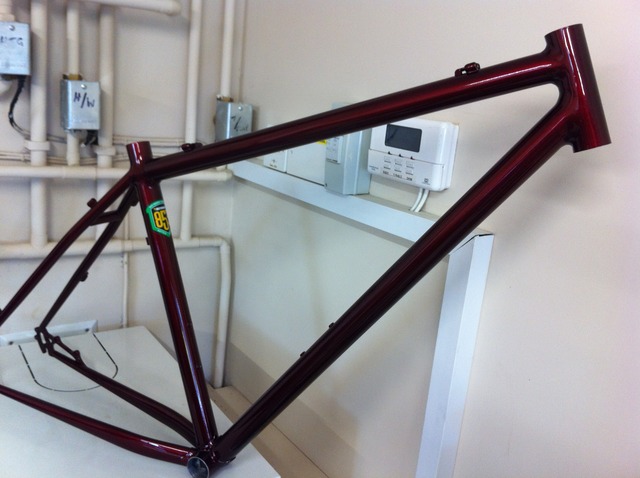
A few weeks later the frame was ready for pick-up. I chose a nice deep metallic red that came out very well. The frame is not yet built up into a bike as the parts collection process is still happening.
If anyone is considering the course, do it.